Create an Escape Room in BLUERABBIT
Create an Escape Room in BLUERABBIT
Overview
Alright. This post is coming after the Game Garage on the 14th of January. If you want to know what the game garage is, visit Sententia Gamification website as they are holding the best gathering of gamification peers, enthusiasts, experts and newbies together with a great new idea every single time.
How do you create an Escape Room with BLUERABBIT?
Well, first of all, what is an escape room?
An escape room is an activity where the players have to find clues in order to solve a riddle. The consequence of solving the riddle is "escaping the room" where you were locked (not really locked, this isn't a terror movie).
So within BLUERABBIT you can create all the elements that are needed for an escape room to exist and you can use the software to provide feedback to the players against the clues they find in the process.
Achievements
20 Achievements that will provide clues to get the 10 digit code.
Blog Entries
20 Blog Posts, each providing media to figure out 20 keywords.
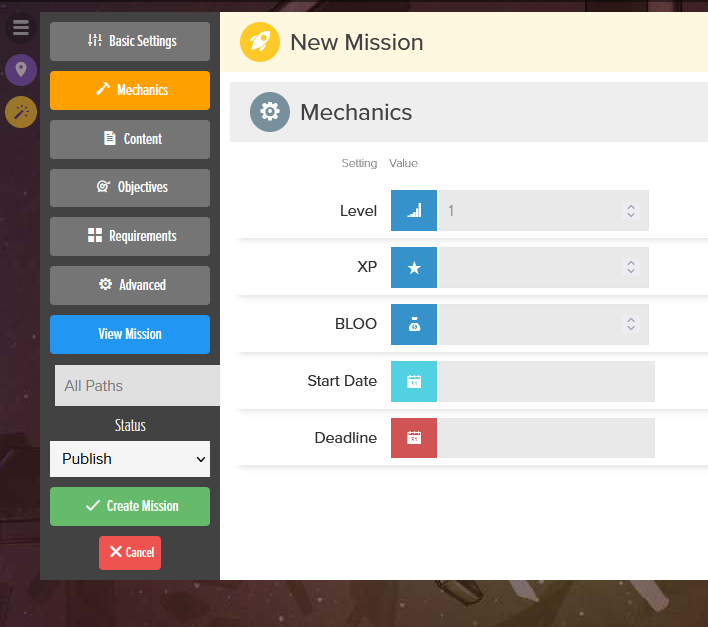
Mission
1 Mission with instructions.
What you will make
IN THIS TUTORIAL
An escape room with a goal to find a 10 digit code.
Outside BLUERABBIT
- The Goal: The secret code, the last key, the name, the contract, the combination of the safe, etc...
- Clues: The parts of the puzzle, numbers to the combination, the key to the safe, etc...
Inside BLUERABBIT
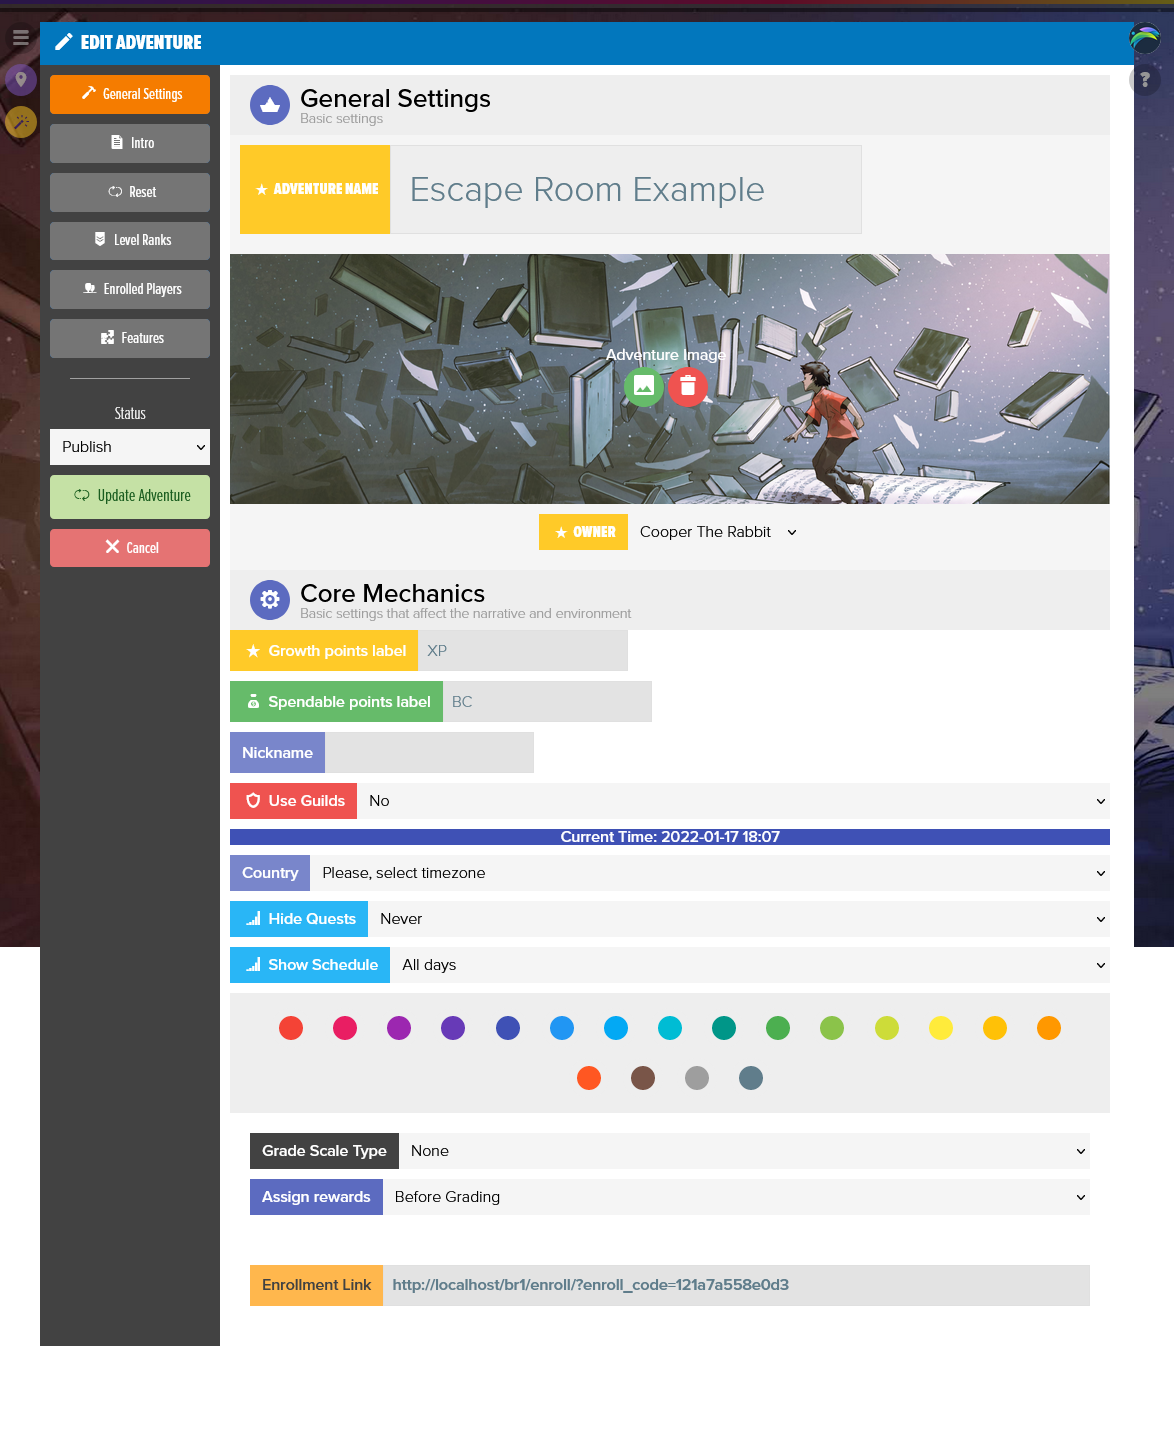
- A new Adventure: The place where the players will play.
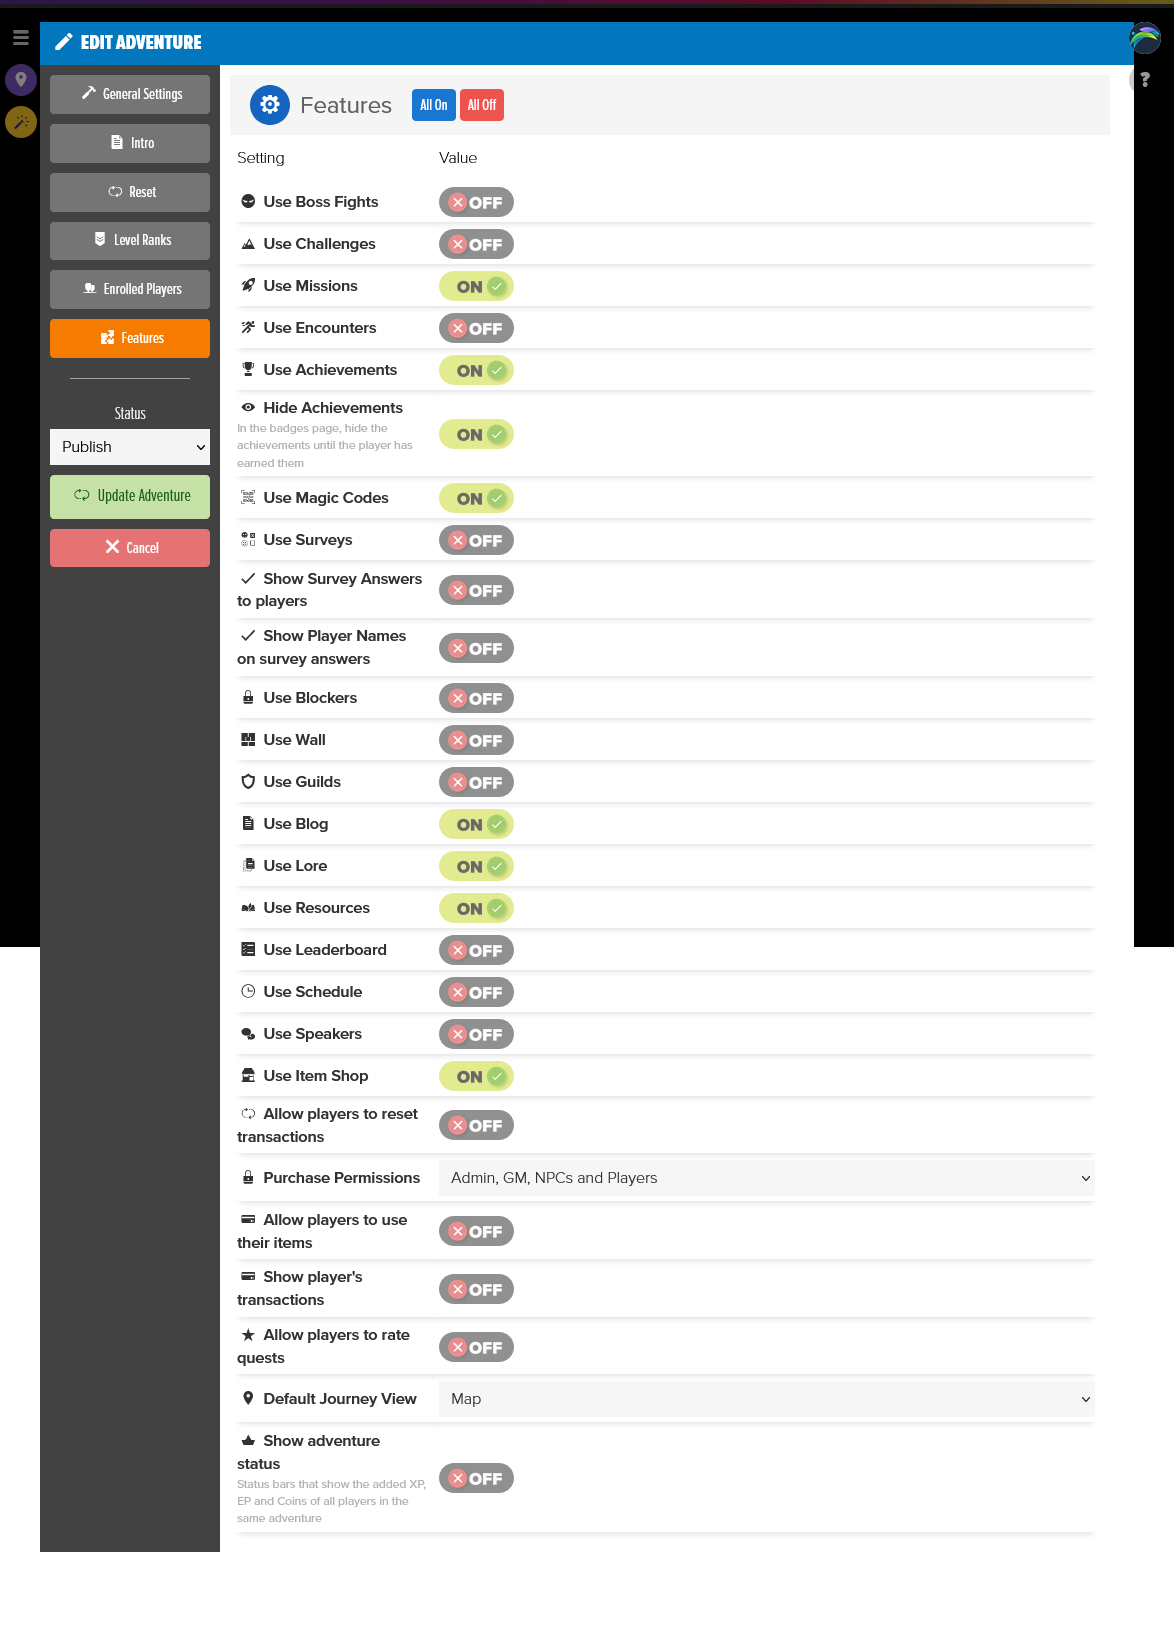
- Blog Posts, Achievements and Items: The mechanics where you put the clues.
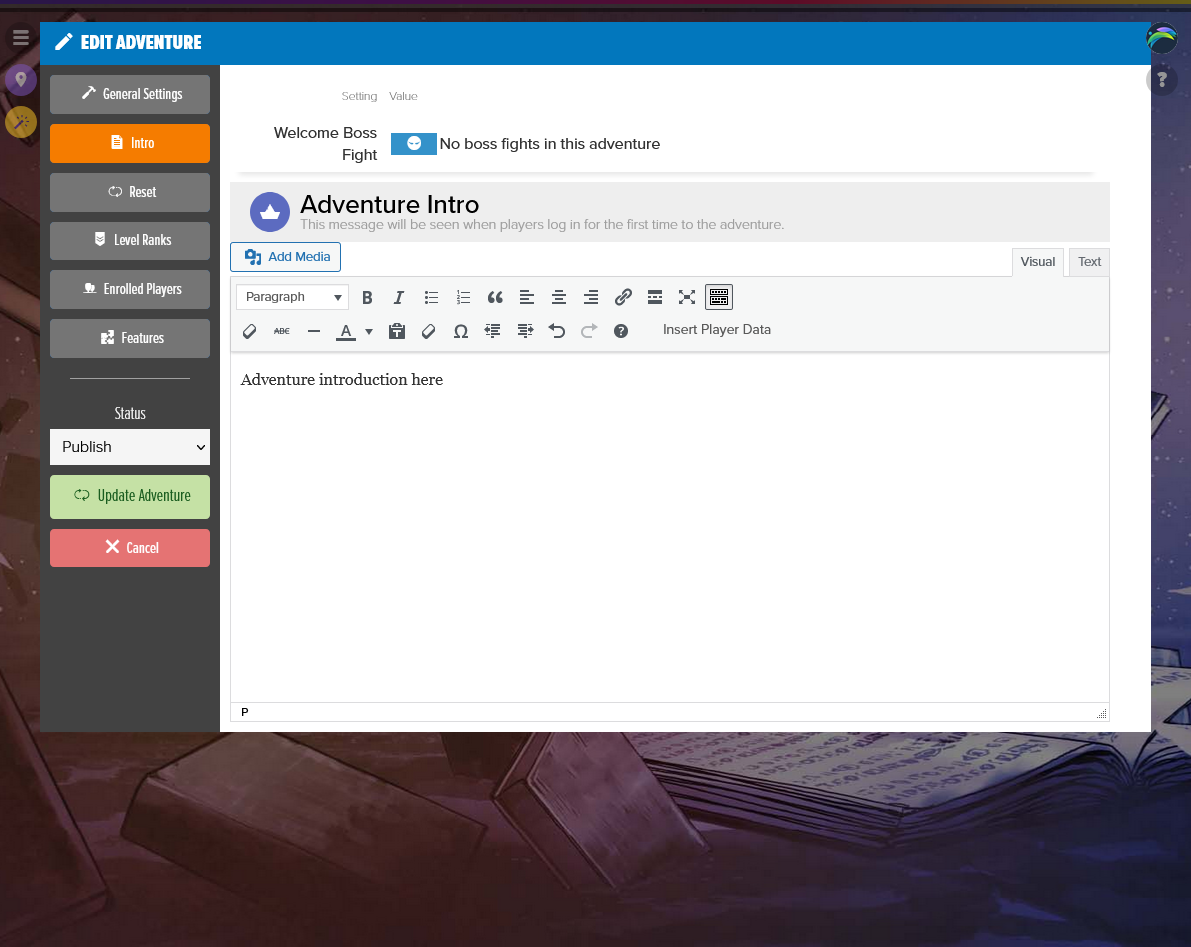
- Adventure Intro & Mission for instructions: A place to put the goal and include the instructions on how to solve the escape room.
Resources
Open up this spreadsheet. It has all clues, keywords and the 10 digit code. It also has tips on good practices.
Each CITY NAME correspond to a matching media file you can download HERE.
Three of those images are QR codes that link to media files stored in BLUERABBIT.
Steps to create the escape room
>>> IMPORTANT <<<
If you need to edit anything you made and can't find it, just go to the hamburger menu > TOOLS (the hammer) > Manage Adventure. There you can edit everything you create.
1. Create a new Adventure
2. Create a new Mission


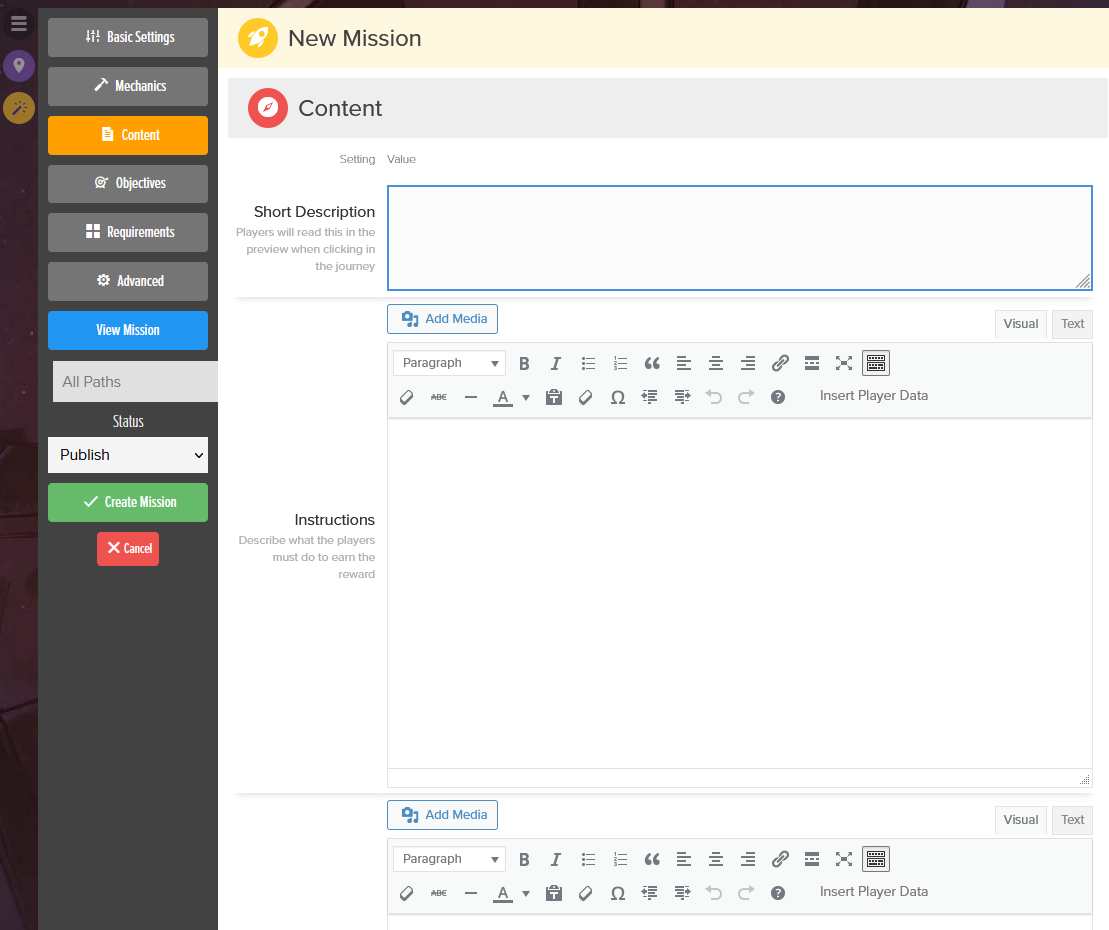
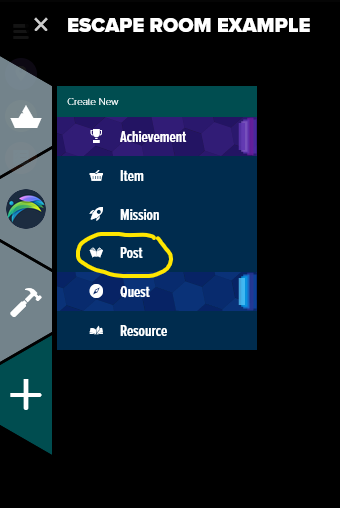
3. Create a new Blog Post for every clue
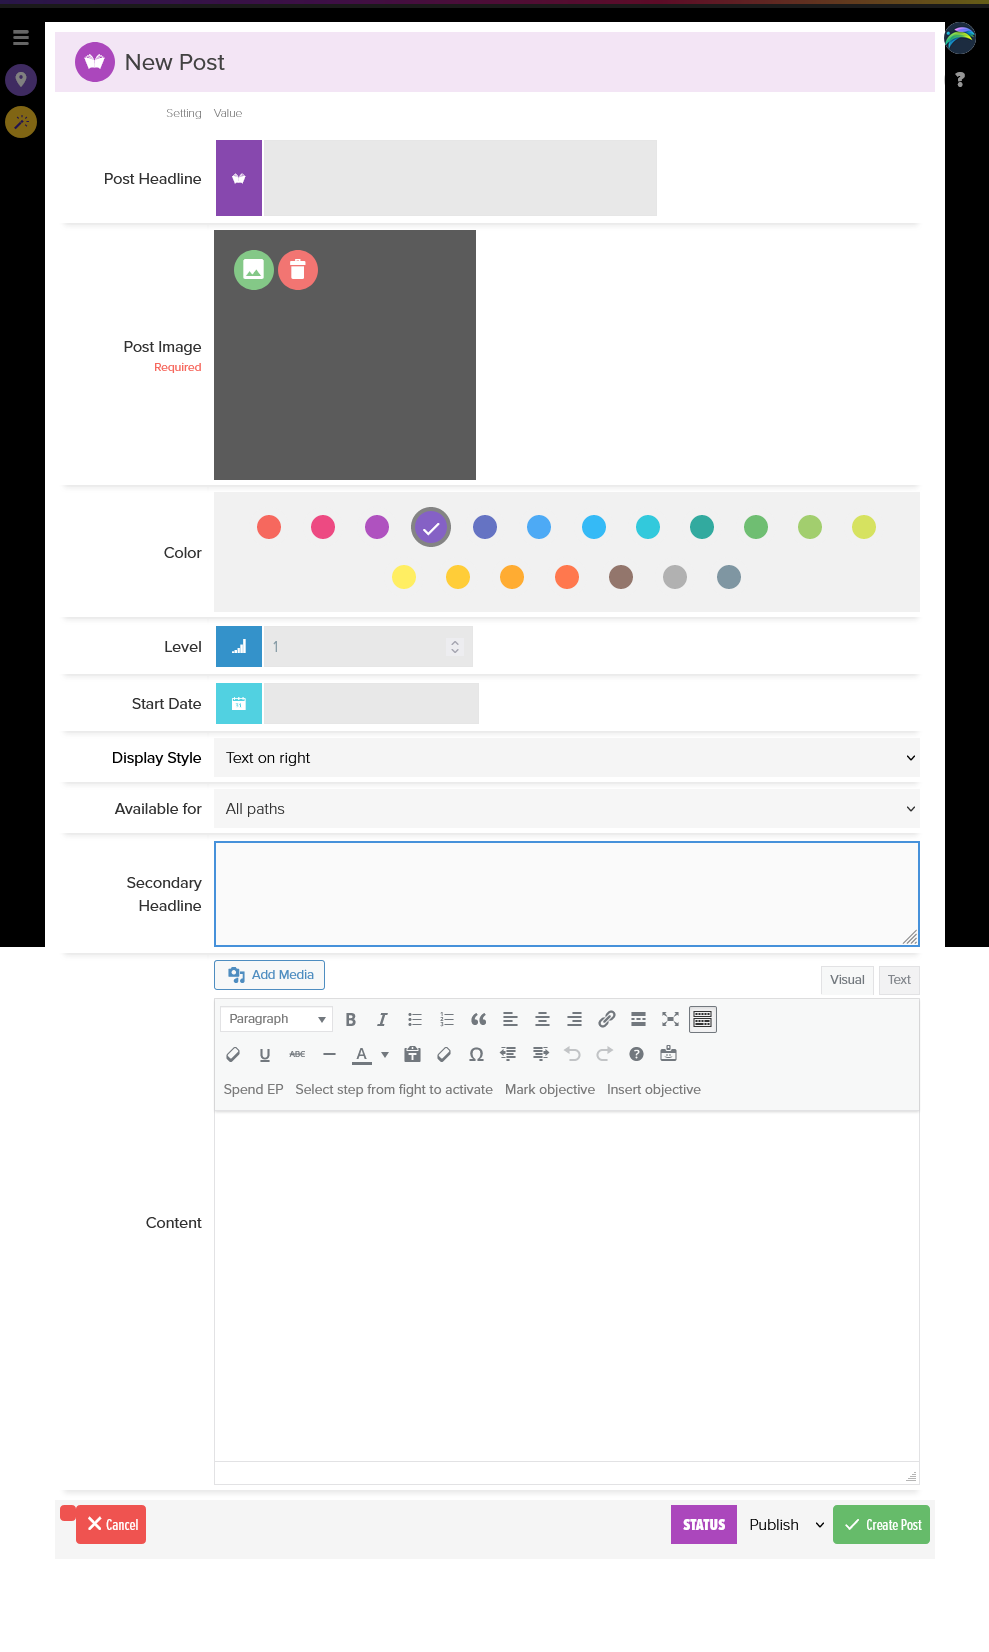
Step 1: Create the post |
|
 |
|
Step 2: Post Settings |
|
|
|
|
Step 3: Save the Post |
Rinse and repeat for every clue |
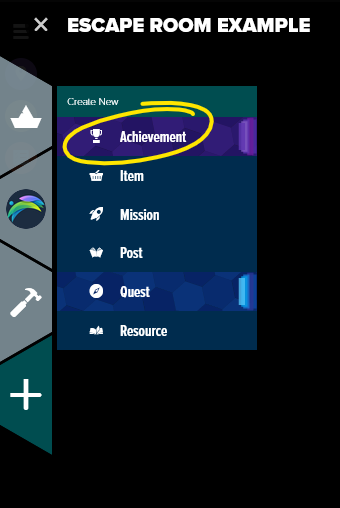
4. Create a new Achievement for every clue
Step 1: Create the achievement |
|
 |
|
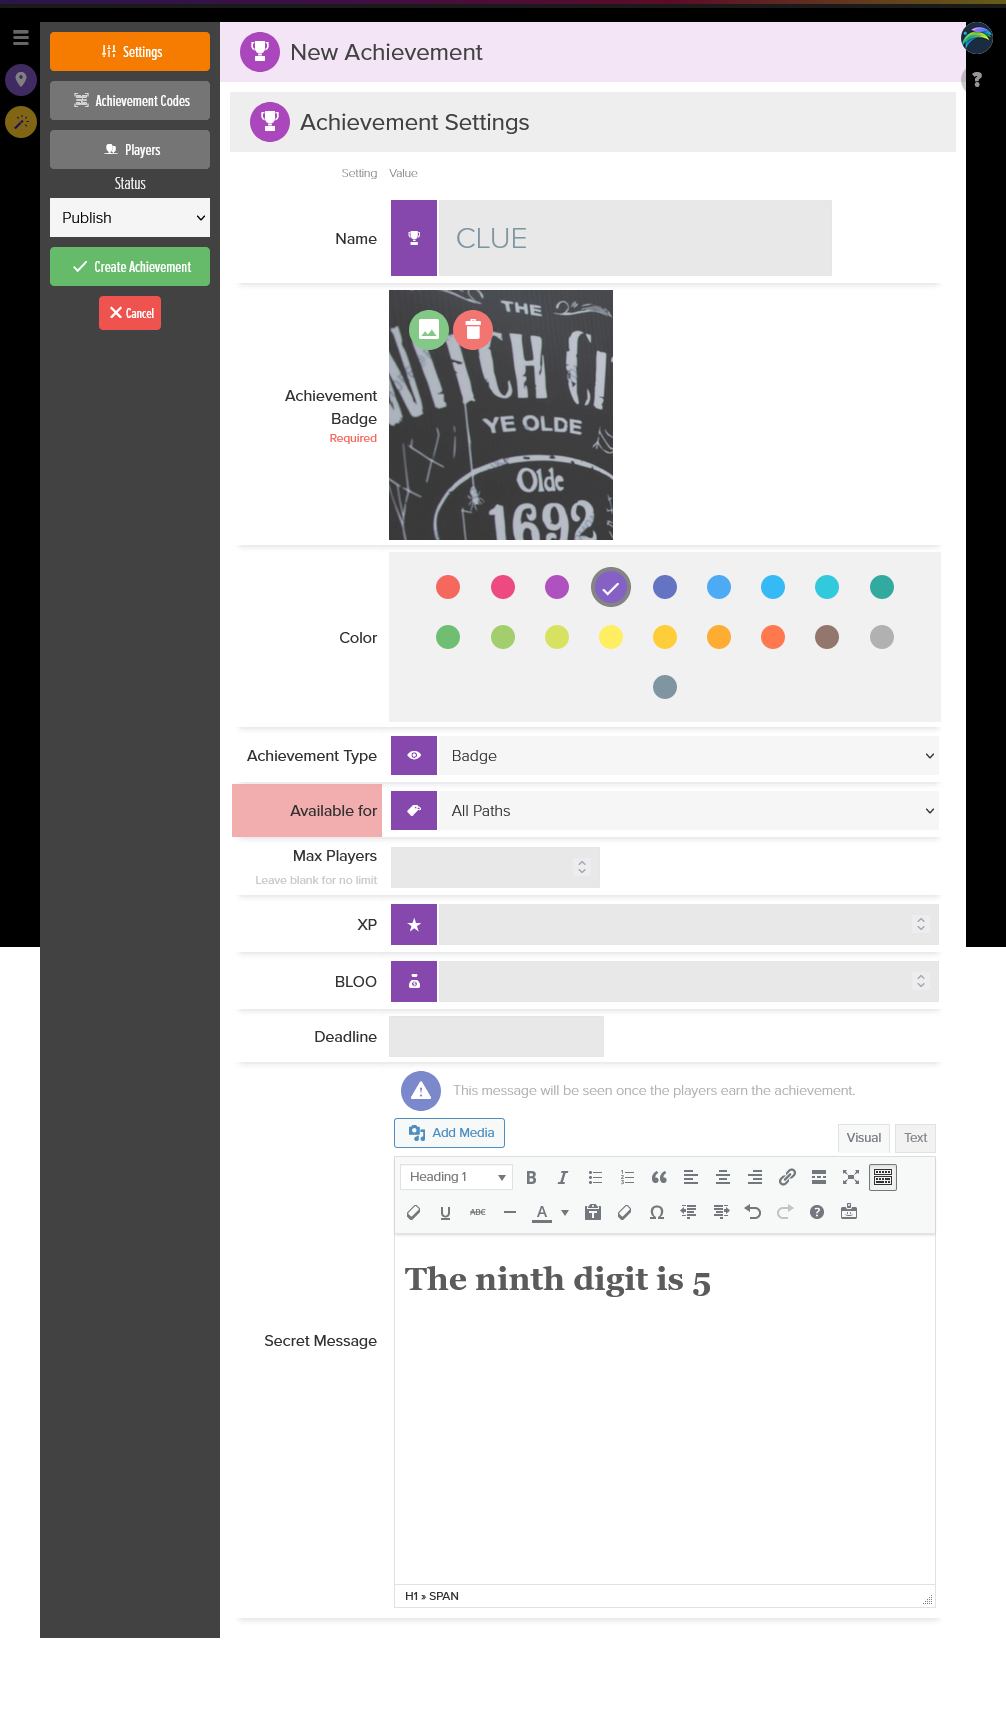
Step 2: General Settings |
|
|
|
|
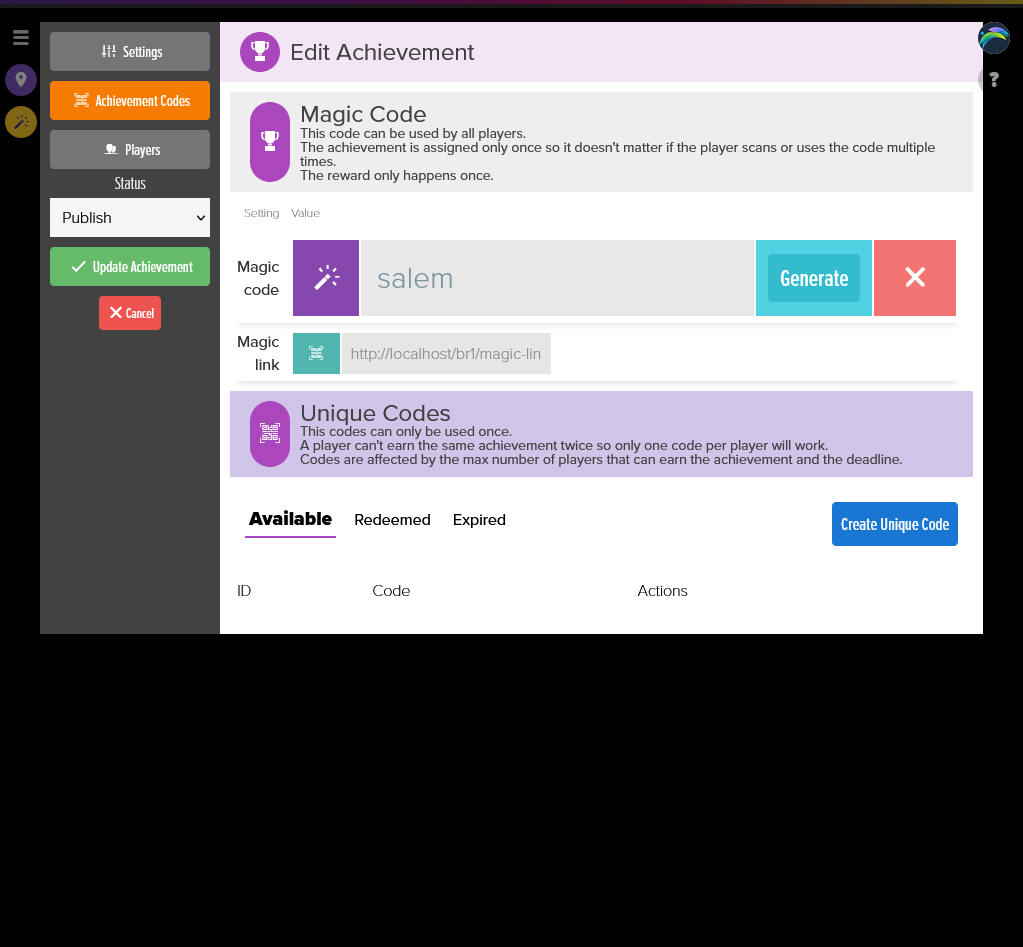
Step 3: Achievement Codes |
Switch tabs on the upper left. |
|
|
In the Magic Code field, add the KEYWORD for this clue. You can add phrases (keywords with spaces) just make sure that there isn't a space at the end or the players will never solve that clue. |
Step 4: Add one extra achievement for the final codeAdd one more achievement so that the players can solve the escape room. Just make another one but the with the 10 digit number as the magic code. Add a cool image for those who manage to solve it. |
And that's it. You just created a complete escape room in BLUERABBIT!
Tell us how did it go! And don't hesitate to call for help. That's what we are here for.
Try BLUERABBIT
Try it for free. No commitment, no upfront, no nothing. Just register and start building.